I apologize the long hiatus! In the past three weeks: I was knocked out by the flu, went on vacation, and returned to a busy week of work. I'm finally finding time to catch up on blogging, and will be posting more about styles that I've been trying!
Today, I wanted to talk about hair. For one thing, I'm definitely not shy when it comes to experimenting with it! I've tried many styles from the 1920s to the present day. From short to long vintage hairstyles, there hasn't been anything that I haven't tried at least once! Whether you are looking for some inspiration, or just curious about vintage inspired hairstyles, here is a look at some of my favorite looks:

Party at Gatsby's

Telephone Girl

Full of Grace

Technicolor Television

Lavish Liz
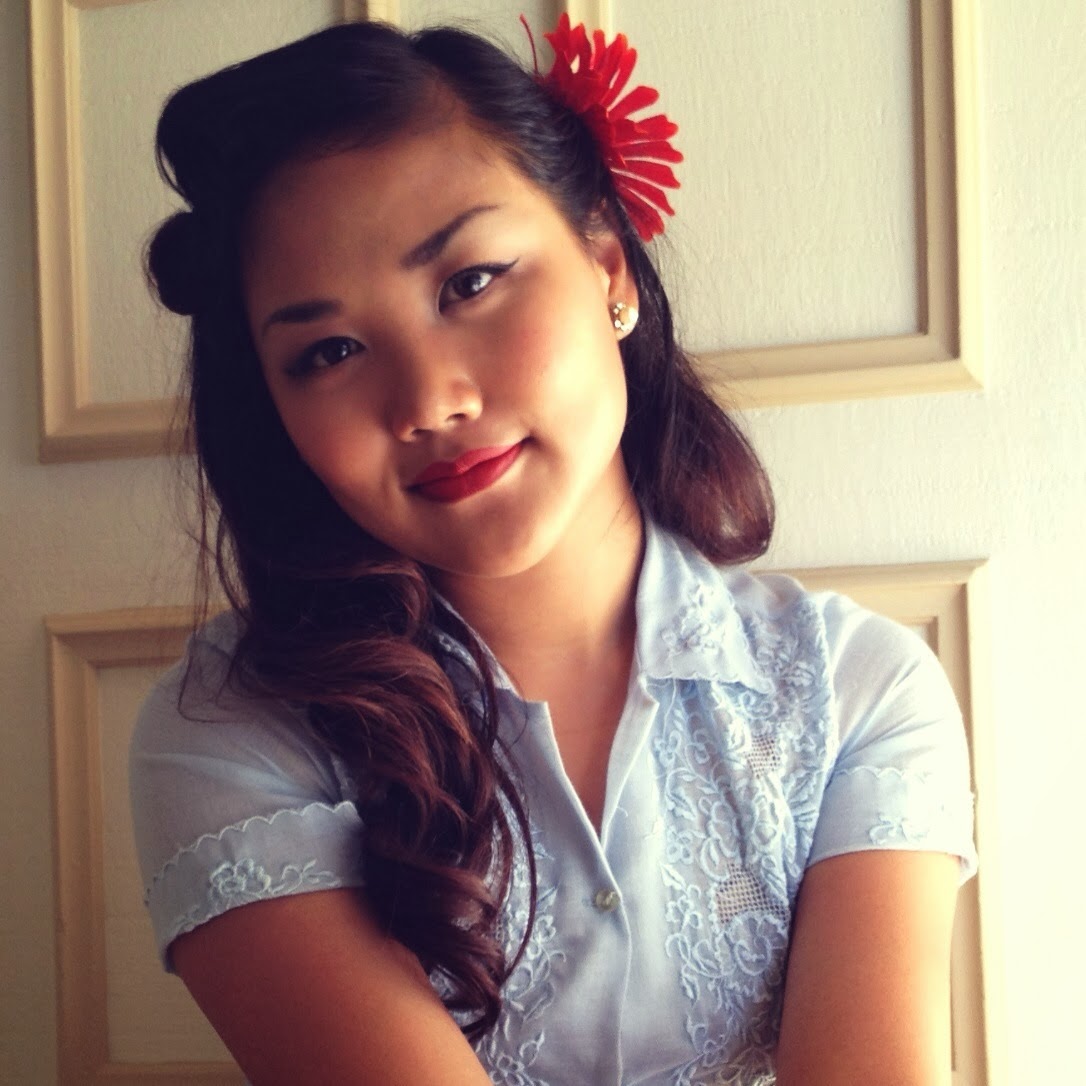
"V" for Victory

Paging Bettie

"Mod"ern Madame
For the majority of these looks, I needed to curl my hair. It was a preliminary step I had to take before tackling most of the hairstyles above. As part of my experimentation, I used a variety of methods to style my hair ranging from: pin curling, foam rollers, flexi-rods, and curling irons/wands.
*As a disclaimer, I'm not claiming that my styling methods or hairstyles are 100% authentic to the time periods represented. However, my vintage recreations are inspired by the looks of those times.
To wrap up, here are some of my thoughts on these hairstyles:
- The most challenging: Victory Rolls. Although a lot of people say that it's an "easy" hairstyle to achieve, I've always struggled with how much hair I need to gather, where I should roll them, and how to get them to stay in place. It's a trial and error, and I'm constantly practicing!
- The easiest: Faux Bettie Bangs. It was probably the fastest style to do because I took a lot of shortcuts. All I did was tease my hair, roll a portion my hair into a hair sponge, and then pull the rest of my hair back into a bun.
- The most fun to do: The Roaring 20's. At the time, I wanted to switch gears from the fresh feminine looks of the 40's and 50's and try something new. Despite struggling with S-Waves and trying to create the illusion of short hair (when I had long hair), I still had a lot of fun!
- My Favorite style: The luscious locks of the 40's. I love brushing out my curls, and watching my hair become these romantic, soft waves. It's a style that I love repeating time and time again!
There you have it! I hope you enjoyed this post and will try these hairstyles out! Please let me know if you have any questions or requests for my future posts. Happy styling!
Until next time!
Melissa


